Adobe Premiere Pro Tutorial: A Complete Beginner’s Guide (2025)
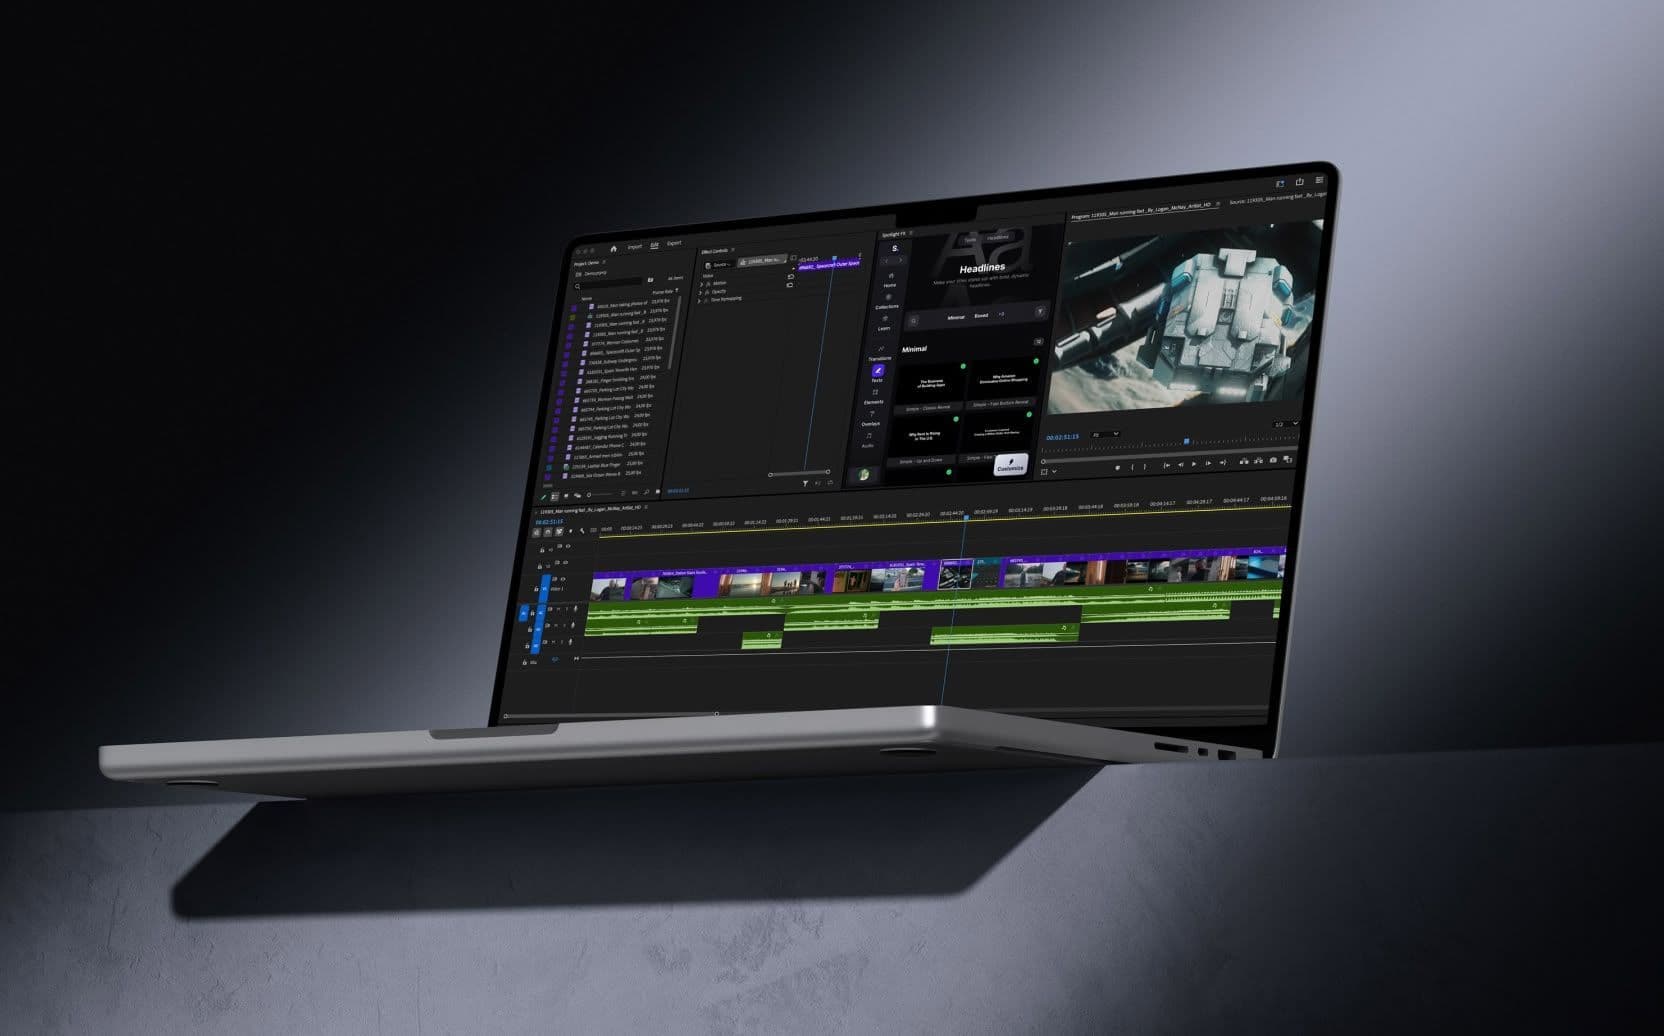
Table of Contents
- 1. Why Adobe Premiere Pro?
- 2. Setting Up Adobe Premiere Pro for the First Time
- 3. The Interface: What You Need to Know
- 4. How to Import and Organize Your Media
- 5. Basic Editing Techniques: Cutting, Trimming, and Moving Clips
- 6. Add and Edit Text in Premiere Pro 2025
- 7. Adding Audio, Effects, and Transitions
- 8. Exporting Your Final Video
- 9. Essential Keyboard Shortcuts to Speed Up Your Workflow
- 10. Common Beginner Mistakes and How to Avoid Them
- 11. Extra Resources to Keep Learning
- Frequently Asked Questions
- Final Thoughts
- Spotlight FX - Get free transitions, effects and workflow tools
Have you ever wanted to create your own videos but felt unsure where to start? Adobe Premiere Pro is a powerful tool that makes video editing possible for everyone. While it might look complicated at first glance, this guide will show you it’s easier than it seems.
We'll keep things simple and straightforward, using easy-to-understand language without any confusing jargon. Plus, you'll find short videos in every section to guide you along the way. By the end, you'll see that video editing isn't as hard as you thought, and you'll be ready to edit your own videos with confidence.
1. Why Adobe Premiere Pro?
If you’re new to video editing, you’ve probably heard of Adobe Premiere Pro. It’s one of the most popular programs for editing videos, and it’s used by both beginners and professionals.
Why Use Premiere Pro?
- Powerful Editing Tools: Premiere Pro has everything you need to create professional videos, whether it's for YouTube, Instagram, or even short films.
- Works With Other Adobe Programs: If you also use Photoshop, After Effects, or Audition, you’ll be glad to know that Premiere Pro works well with these tools. For example, you can edit a photo in Photoshop and easily add it to your video in Premiere Pro without switching programs.
- Lots of Help Available: Since it’s so popular, there are many tutorials and forums to help you if you get stuck. Adobe even provides guides within the program itself.
Why It’s Beginner-Friendly
Even though Premiere Pro is packed with features, it’s also great for beginners. You don’t need to know every feature right away. You can start with simple edits, then explore more advanced tools when you feel comfortable. Premiere Pro is flexible, which makes it a good choice if you want to improve your skills over time.
2. Setting Up Adobe Premiere Pro for the First Time
Setting up Premiere Pro for the first time can seem confusing, but if you follow a few basic steps, you’ll be ready to edit in no time.
Step 1: Install Adobe Premiere Pro
If you don’t already have Premiere Pro installed, you can get it from the Adobe Creative Cloud website. Premiere Pro is part of Adobe’s Creative Cloud, and you can try it for free for 7 days.
Step 2: Create a New Project
Once you’ve installed Premiere Pro, open the program and select New Project. Here’s what to do next:
- Name Your Project: Choose a simple name that matches the video you’re editing. For example, if you’re editing a family vacation video, you could call it “Family_Vacation.”
- Set the Project Location: Choose where you want to save your files. It’s a good idea to create a folder for all the media you’ll be using in this project. This helps keep everything organized.
- Choose Sequence Settings: You can leave this on Automatic, but if you want to change it, you can adjust settings like resolution (1080p is common for YouTube) and frame rate (24 or 30 frames per second are standard).
Step 3: Adjusting Your Workspace
Premiere Pro has different workspaces you can choose from, such as Editing, Color, and Audio. For beginners, it’s best to stick with the Editing workspace. This layout includes the most important tools for basic video editing.
For more on setting up your project, check out Adobe’s official project setup guide.
3. The Interface: What You Need to Know
The Premiere Pro interface can look complicated at first, but you’ll only need a few main panels to start editing.
Key Panels to Focus On
- Project Panel: This is where all your media files (like videos, images, and audio) are stored.
- Timeline Panel: This is where you place and arrange your clips. You’ll do most of your editing here.
- Source Monitor: You use this to preview and trim clips before adding them to the timeline.
- Program Monitor: This lets you see how your video looks as you edit it.
- Tools Panel: This panel contains tools like the Selection Tool (used to move clips) and the Razor Tool (used to cut clips).
Understanding the Timeline
The Timeline Panel is where most of your work will happen. Think of it as a canvas where you arrange your video and audio clips. The timeline is made up of different layers, which are called tracks. Video tracks appear at the top, and audio tracks appear at the bottom. The layers let you overlap different clips and sounds.
If the interface feels crowded, you can customize it by resizing or moving the panels. This way, you can create a workspace that feels comfortable for you.
To get familiar with the interface, check out Adobe’s interface guide for beginners.
4. How to Import and Organize Your Media
Before you start editing, you’ll need to import your video files, audio tracks, and images.
How to Import Media
- Drag and Drop: You can drag files directly from your computer into the Project Panel.
- File > Import: You can also go to File > Import and choose the media files you want to use.
- Media Browser: The Media Browser panel lets you browse through your computer files and import media directly into the project.
Organizing Your Media
It’s important to keep your media files organized, especially for bigger projects. You can create bins (like folders) in the Project Panel to sort your files. For example, you can create a bin for video clips, another for audio tracks, and another for images.
Pro Tip: Rename your media files to something meaningful. For instance, instead of leaving a video file as “Clip001,” rename it to “Vacation_Beach_Clip.”
For more tips on organizing media, check out Adobe’s media organization guide.
5. Basic Editing Techniques: Cutting, Trimming, and Moving Clips
Once your media is imported, it’s time to start editing. In this section, we’ll go over the basic techniques for cutting, trimming, and moving clips.
Cutting Clips
Cutting is useful when you want to remove parts of a clip that you don’t need.
- Razor Tool: Use the Razor Tool (press C on your keyboard) to cut a clip in half. Place the playhead (the vertical line that shows where you are in the timeline) at the point where you want to cut.
- Delete Unwanted Parts: After cutting, select the part of the clip you don’t need and press Delete.
Trimming Clips
Trimming lets you shorten or lengthen a clip.
- Selection Tool: Press V on your keyboard to select the Selection Tool. Click the edge of a clip in the timeline and drag it inward to shorten it.
- Ripple Edit Tool: If you want the timeline to automatically remove gaps after trimming, use the Ripple Edit Tool (press B).
Moving Clips
To move a clip to another part of the timeline, simply click and drag it. Make sure snapping is turned on (press S) so the clips stay aligned with each other.
For a more detailed tutorial on basic editing techniques, check out Adobe’s guide to cutting and trimming.
6. Add and Edit Text in Premiere Pro 2025
With the 2025 update, you can add text just as before (steps below), but to edit the text you need to open the Properties Panel (Window > Properties). This update keeps all text settings in one place (previously spread across multiple panels), making it easier to use whether you're new to Premiere Pro or have used it before.
Add Text Using the Program Monitor
- Select the Text Tool: Click on the T icon in the toolbar to pick the Text Tool.
- Click on the Program Monitor: Click directly on your video in the Program Monitor to create a text box and start typing.
Add and Edit Text Using the Properties Panel
- Open the Properties Panel: Go to ‘Window’ > ‘Properties’ to open this panel.
- Create New Graphic: Click on "Create New Graphic" and select "Text" to add a text layer, which you can fully customize in this panel.
The Properties Panel now centralizes all key text-editing tools, eliminating the need to switch between multiple panels as in older versions. With this update, you can adjust font, size, color, and alignment all in one place, making the process straightforward and beginner-friendly.
For more information on this topic, check out our full guide on how to add and edit text in Premiere Pro 2025.
7. Adding Audio, Effects, and Transitions
To make your video more engaging, you’ll want to add audio, effects, and transitions. These can help bring your video to life.
Adding Audio
- Import Audio: You can import music or sound effects the same way you imported video clips.
- Adjust Volume: To change the volume of an audio track, select the audio clip in the timeline. Then go to the Effects Controls panel and adjust the volume.
- Background Music: When adding background music, make sure it’s not too loud. Lower the volume so that it doesn’t drown out any talking in your video.
Adding Effects
- Drag and Drop Effects: Open the Effects Panel and search for the effect you want (like Brightness & Contrast). Drag it onto the clip in the timeline.
- Adjust the Effect: You can customize the effect settings in the Effects Controls panel.
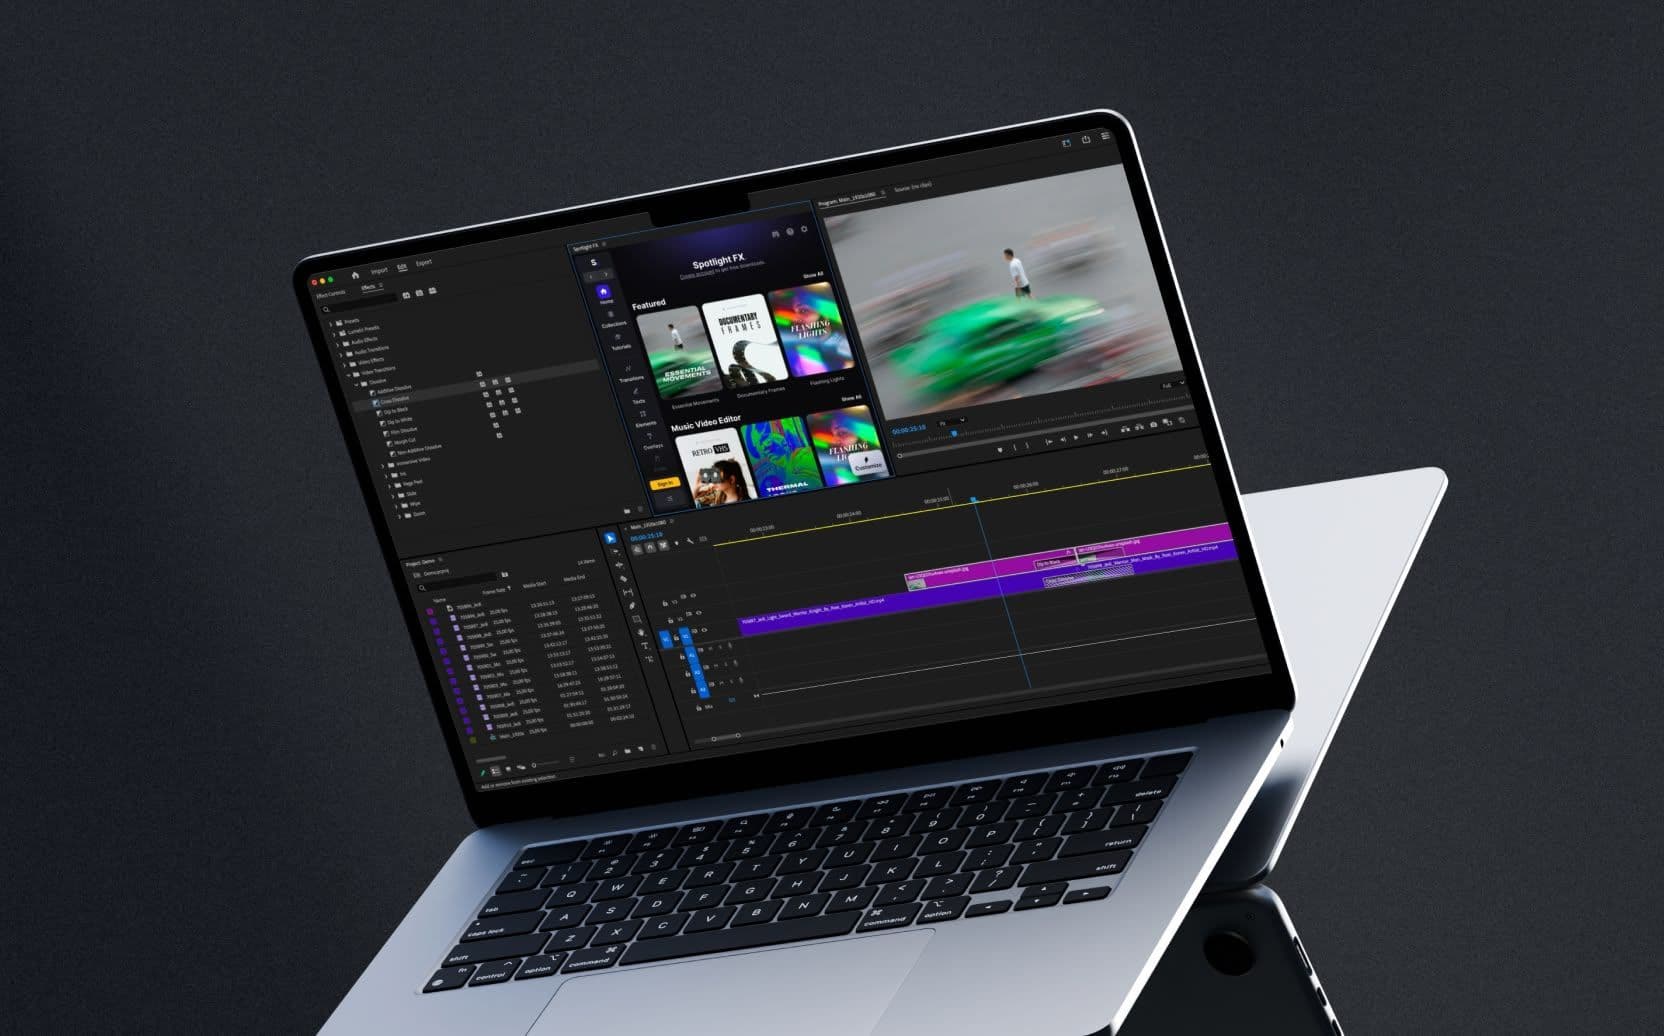
Adding Transitions
- Cross Dissolve: Cross Dissolve is a simple transition that fades one clip into another. Drag it from the Effects Panel and place it between two clips on the timeline.
- Adjusting Transitions: You can change the length of the transition by dragging the edges of the transition in the timeline.
For more on adding effects and transitions, visit Adobe’s guide to effects and transitions.
8. Exporting Your Final Video
Once your video is edited and you’re happy with it, it’s time to export it so you can share it with others.
How to Export Your Video
- Go to File > Export > Media: This opens the export settings window.
- Choose Format: The best format for most videos is H.264. This format works well for uploading to YouTube, Instagram, or Vimeo.
- Select a Preset: If you're exporting for YouTube, choose the YouTube 1080p HD preset.
- Export Range: Make sure you have the right export range selected. Most of the time, you’ll want to export the Entire Sequence.
- Click Export: Once you’ve chosen your settings, click Export to begin rendering your video. This may take a few minutes, depending on the length of your video.
For a detailed guide on export settings, visit Adobe’s export and rendering guide.
9. Essential Keyboard Shortcuts to Speed Up Your Workflow
Learning a few keyboard shortcuts can help you edit faster. Here are some of the most useful ones for beginners:
- V Selection Tool (for moving clips)
- C Razor Tool (for cutting clips)
- S Snapping (turn this on to align clips easily)
- CTRL+Z/ +Z Undo (to undo mistakes)
- Spacebar Play/pause your video in the timeline
To customize or view more shortcuts, go to Edit > Keyboard Shortcuts.
For a full list of shortcuts, check out Adobe’s keyboard shortcuts guide or our guide to 8 must-know Premiere Pro shortcuts to speed up your editing.
10. Common Beginner Mistakes and How to Avoid Them
Starting out with Premiere Pro can lead to a few common mistakes. Here’s how to avoid them:
Forgetting to Save Your Project
Always save your work regularly. You can set Premiere Pro to auto-save by going to Edit > Preferences > Auto Save. This ensures that you don’t lose any progress if the program crashes.
Using Too Many Transitions
While transitions like Cross Dissolve are fun to use, don’t go overboard. Too many flashy transitions can make your video look messy. Simple cuts are often the best choice.
Ignoring Audio Levels
Good audio is just as important as good visuals. Make sure your music doesn’t drown out the voices in your video. Always check your audio levels before exporting.
11. Extra Resources to Keep Learning
Adobe Premiere Pro is a powerful tool, and there’s always more to learn. Here are some additional resources that can help you get better:
- Check out Adobe’s official Premiere Pro tutorials for more tips.
- Learn more about Premiere Pro keyboard shortcuts.
Frequently Asked Questions
What is the basic use of Premiere Pro?
Premiere Pro is mainly used for editing videos. It lets you cut clips, arrange footage on a timeline, add music, effects, titles, and export polished content for platforms like YouTube, TikTok, or broadcast.
Can I learn Premiere Pro in one day?
You can learn the basics of Premiere Pro in one day, like cutting clips, adding transitions, and exporting video. But mastering advanced tools like color grading, masks, or multi-cam editing takes more time and practice.
Can you learn Premiere Pro by yourself?
Yes, you can learn Premiere Pro on your own using free tutorials, YouTube guides, and Adobe’s help center. Many creators become skilled without formal training, just by practicing with real projects.
What is Premiere Pro best used for?
Premiere Pro is best for professional video editing. It’s widely used for editing YouTube videos, short films, interviews, ads, documentaries, and social media content because it supports complex edits and integrates with tools like After Effects and Audition.
Final Thoughts
Adobe Premiere Pro might seem tricky at first, but like any new skill, it gets easier the more you practice. Start with the basics like importing your media, trimming clips, and adding simple transitions. As you get more comfortable, explore more advanced features. The key to success is practice and patience. Keep editing, and you’ll get better with time!
Good luck, and happy editing!
Updates
- Jun 27, 2025 - Added FAQ section.