How to Add Transitions in Premiere Pro (2025 Guide)
|
7 mins
|
Jan 30, 2025

- Getting Started: Adding Basic Transitions
- Choosing the Right Transition for Your Video
- Advanced Transition Techniques
- Timing Tips for Seamless Transitions
- Troubleshooting Common Transition Issues
- Quick Reference for Most Popular Transitions
- Frequently Asked Questions (FAQs)
- Wrapping Up
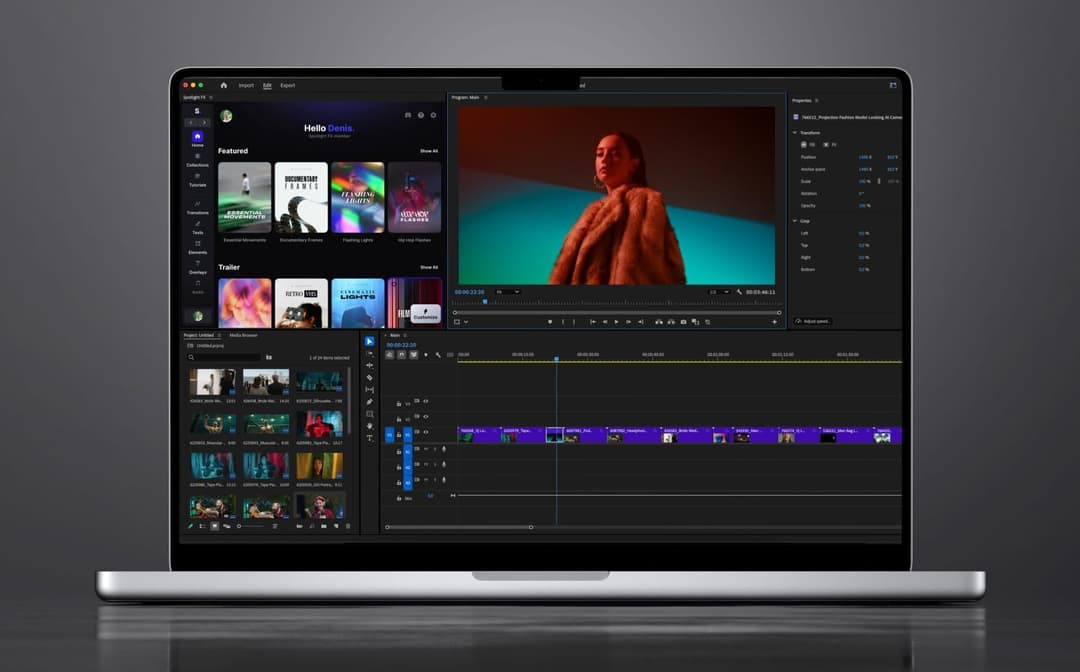
- Spotlight FX - Get free transitions, effects and workflow tools
If you’re new to Premiere Pro and want to learn about transitions, you’re in the right place. Transitions aren’t just fancy effects, they’re what make your video look smooth and professional.
No need to worry about confusing terms or tricky steps. We’re keeping it simple! With just a few basic tools, you’ll be adding transitions in no time.
In this guide, you’ll learn where to find transitions, how to apply them, and some quick tips to make them look great.
Getting Started: Adding Basic Transitions
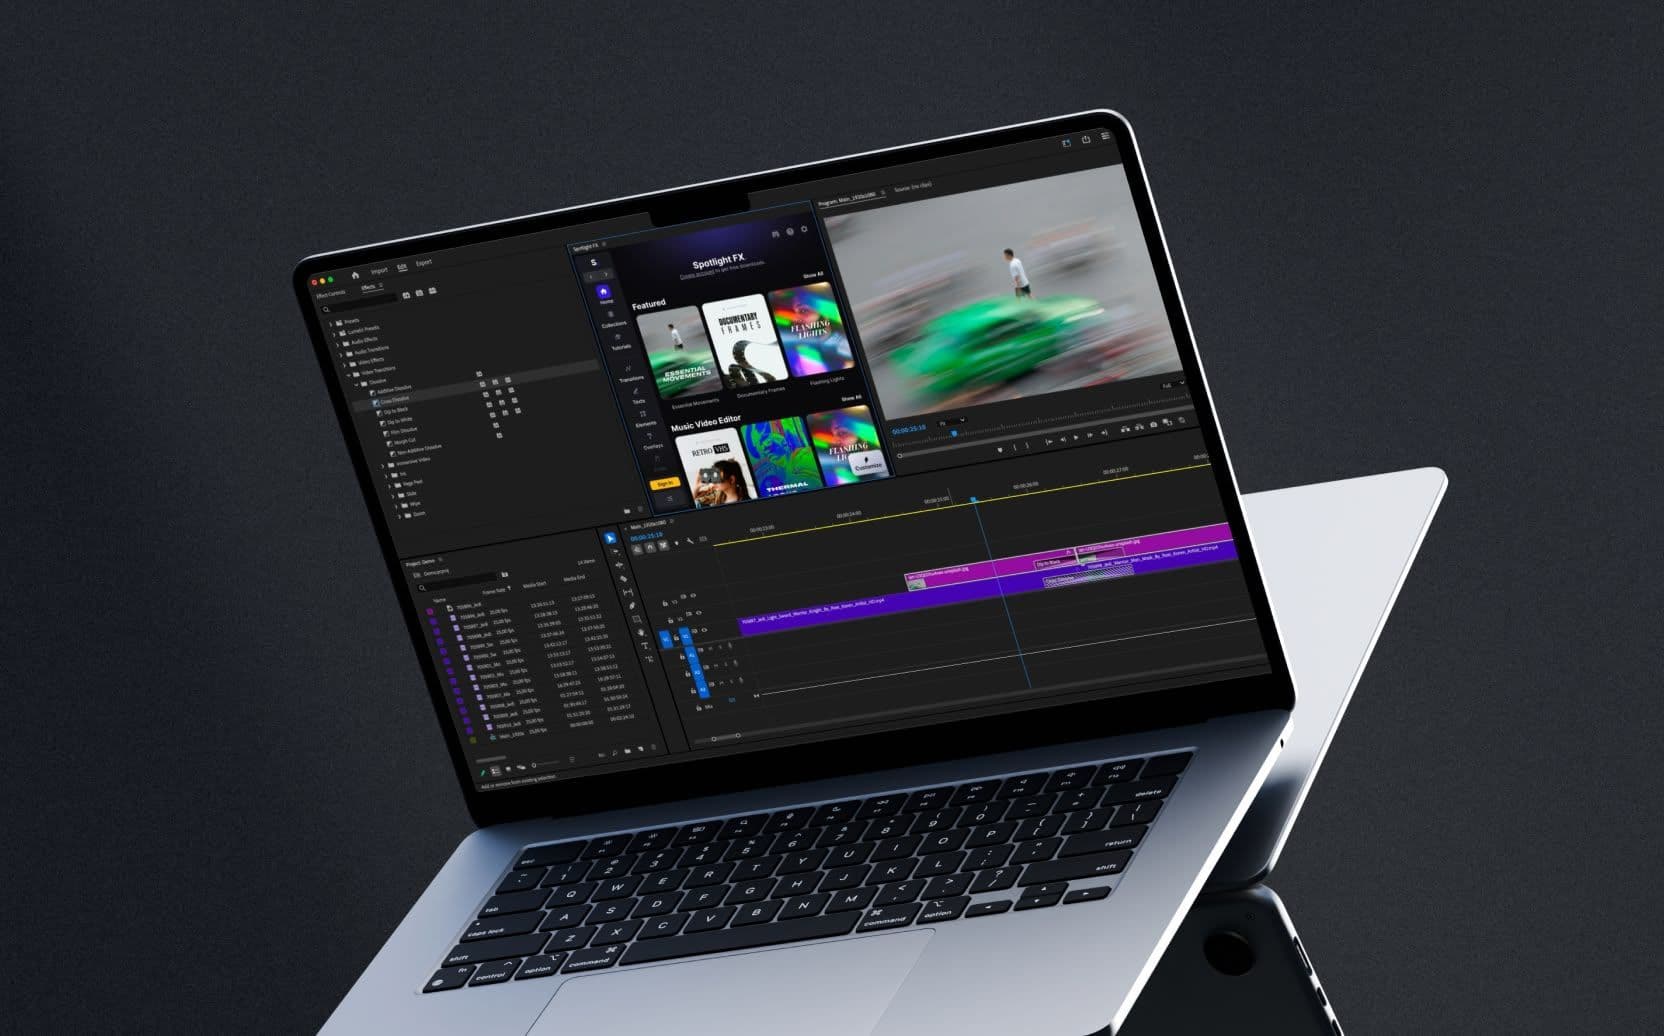
First things first, let’s start with the simple stuff. Transitions are located in the Effects panel in Premiere Pro.
1. Open the Effects Panel
This is where you’ll find all sorts of fun effects and transitions. If you don’t see it, go to Window > Effects, and it’ll pop up. (This panel is like the toolbox for effects in Premiere Pro.)
2. Find a Basic Transition
Under the Effects panel, you’ll see a Video Transitions folder. This is where the basics live, including some favorites like Cross Dissolve and Dip to Black. These are good “starter” transitions and work in most types of videos.
3. Apply the Transition
Once you’ve picked a transition, drag it to where two clips meet on your timeline.
Common Issue: "Insufficient media. This transition will contain repeated frames."
If you see this popup, it’s not an error. It just means you’re adding a transition where there isn’t enough extra footage. To fix it, trim (cut) your clip a bit (e.g., 2 seconds) before the end to allow room for the transition. Otherwise, Premiere Pro will freeze the last frame to fill the gap.
4. Adjust the Transition Duration
Now, once you’ve got the transition in place, you can fine-tune it by dragging the edges in the timeline. Need it longer? Just stretch it out. Want it snappier? Pull it in a bit. You’ll find that playing around here really makes a difference, especially when you’re going for a specific timing.
Quick Tip: Cross Dissolve is the default transition, and for a good reason, it’s easy and feels natural. If you’re not sure where to start, go with Cross Dissolve!
Choosing the Right Transition for Your Video
Okay, now that you know the basics, let’s dig into some of the different types of transitions you’ll be using most often in Premiere Pro. Each type has its own style and purpose, and some work better for certain kinds of scenes or moods than others.
- Cross Dissolve: This is the go-to for most edits because it’s subtle and smooth. It’s like blending two clips so they almost melt into each other. Great for calm, professional transitions.
- Dip to Black: This fades the screen to black and then back up. It’s super useful for the end of scenes or when you want a dramatic pause between clips. It gives a “reset” feeling to the viewer.
- Dip to White: Similar to Dip to Black, but with a lighter vibe. It fades to white, which can feel uplifting or energetic. You might use this in bright, cheerful scenes or upbeat videos.
- Push, Slide, and Wipe: These transitions add a bit of movement by sliding one clip over the next. These are fun but a little flashier than the dissolves. If you’re doing a creative video, or something a bit quirky, these can work nicely. But be careful not to overuse them, they can feel a bit too “busy” if used back-to-back.
- Audio Transitions: Audio transitions are like the background music to your video’s visual story. They help blend sounds smoothly from one clip to another. You’ll find these under Audio Transitions > Crossfade with options like Constant Power (the default) for smooth audio blends. It’s a simple way to make sure your sound transitions are just as polished as your visuals.
Each type has its own vibe, so don’t be afraid to try a few and see which feels right for your video. For more insights into various transition types and their applications, check out this video.
Advanced Transition Techniques
Once you’re comfortable with the basics, it’s time to add a few advanced techniques to your toolkit. These are the tricks that give you more control over the look and feel of each transition.
1. Customizing Transition Duration
You already know you can drag the edges of a transition in the timeline to change its length. But if you want every transition to be a specific length by default, you can go into Edit > Preferences > Timeline and set your preferred duration there. This can be really handy if you like consistency across your project.
2. Adding Transitions to Multiple Clips
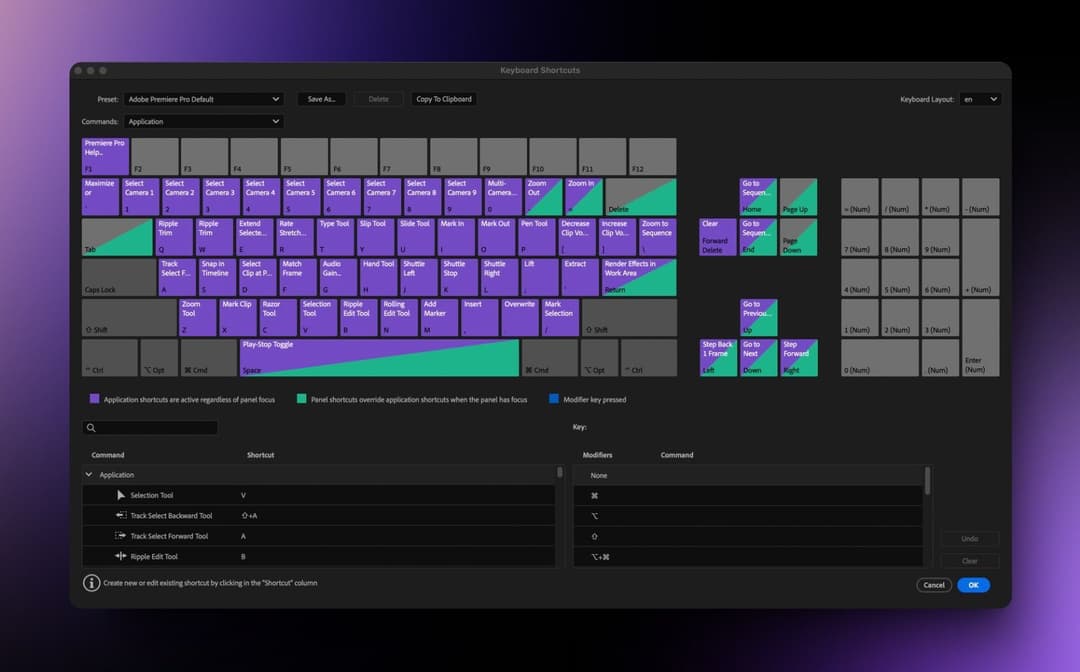
This one’s a huge timesaver. Let’s say you’ve got a bunch of clips that all need a similar transition. Just select all the clips in the timeline, right-click, and choose Apply Default Transitions to Selection. You can also hit SHIFT+D or Cmd / Ctrl+D for this, which is great for bulk transitions in a snap.
3. Creating Custom Transition Presets
If you’ve got a specific style or set of adjustments you like, save it as a custom preset. In the Effect Controls panel (Window > Effect Controls), set up the transition just how you like it, then right-click and choose Save Preset. This way, you don’t have to recreate the wheel every time you want that same look.
4. Keyframing for Creative Effects
If you want to get fancy, use keyframes to control how a transition changes over time. For example, you can animate the position so that something slides in from the top or bottom (via E, adding a smooth, custom movement to your scene. Keyframes let you personalize transitions beyond the basics, giving your edits a unique look.
5. Layering Graphics with Transitions
Transitions don’t have to be limited to video clips! You can layer graphics (like logos or text) with transitions to add an extra element. Try adding a logo as a separate layer and applying a transition to it for a professional touch. It’s a fun way to combine motion graphics with transitions, giving your project a unique style.
Quick tip: Even a basic fade animation can go a long way. For example, a lot of credit titles or trailer motion graphics are just simple fade-ins, and they still look great! Sometimes, simple is all you need to get a simple, professional look.
For more advanced techniques check out this video guide from SonduckFilm.
Timing Tips for Seamless Transitions
Here’s a list of tips that can make transitions easier and smoother from the get-go:
- Keyboard Shortcuts: Learning a few keyboard shortcuts can save a lot of time. Use CMD / CTRL+D, or Shift+D to apply it across selected clips.
- Consistent Timing: Transitions generally work best when they’re consistent. For example, a 20-frame transition (about 0.6 seconds) is a safe length. Longer transitions can drag, and shorter ones might feel too abrupt. Try setting a standard timing, and adjust only when necessary.
- Match the Mood: Different transitions suit different scenes. Cross Dissolve is neutral and works for almost everything. If you’re aiming for a more energetic or playful scene, Push or Slide might fit. Just make sure the transitions reflect the feel of your video as a whole.
- Blend Audio Transitions: Don’t overlook audio transitions like Constant Power, it is a default that works well to soften audio cuts. If you’re working with music or dialogue, blending audio transitions helps make the entire scene feel seamless.
Troubleshooting Common Transition Issues
Sometimes, things don’t go quite as planned with transitions. Here are some common issues you might run into and quick solutions to get them working properly.
- Insufficient Media Handles: If you get the message or popup, "Insufficient media. This transition will contain repeated frames," don’t worry, it’s not an error. It’s just Premiere Pro letting you know that you’re adding a transition at the end of the clip where there isn’t enough additional footage to continue the transition. To fix this, trim (cut) your clip for example 2 seconds before the end, to provide enough space for the Cross Dissolve transition. If you don’t do that, you’ll see this popup message (again, not an error) and Premiere Pro will freeze the last frame to create enough space to complete the transition.
- Lagging or Choppy Previews: Transitions can slow down playback, especially if your computer is working hard. To make things smoother, try lowering the playback resolution (use the dropdown in the playback window) or render the timeline by pressing Enter. This gives Premiere Pro some breathing room.
- Incompatible Clips: Occasionally, a transition won’t work because the clips are different formats (like different frame rates). If you run into this, you may need to convert one of the clips to match the other.
- Render Issues: If you’re seeing glitches, try clearing your render files by going to Sequence > Delete Render Files and then re-rendering the timeline (if this option is grayed out, it means that everything is okay). It’s a bit of a reset for Premiere Pro, and it often solves unexpected glitches.
Quick Reference for Most Popular Transitions
Transition Type | Usecase |
|---|---|
Cross Dissolve | Smooth and subtle scene changes |
Dip to Black | Dramatic scene endings or pauses |
Dip to White | Energetic or uplifting scenes |
Push/Slide/Wipe | Creative, fun, or energetic projects |
Constant Power | Smooth audio blending |
Frequently Asked Questions (FAQs)
How do I add transitions on Adobe Premiere Pro?
Go to the Effects panel (Window > Effects), open the Video Transitions folder, then drag a transition like Cross Dissolve (Dissolve > Cross Dissolve) onto the cut (the space between two clips) in the timeline. You can also select the cut and press Cmd+D (Mac) or Ctrl+D (Windows) to apply the default video transition.
How to add transition between clips:
Open the Effects panel (Window > Effects), search for a transition like Dip to Black (Video Transitions > Dissolve), and drag it onto the point where two clips meet. To apply the default transition faster, select the cut and press Cmd+D (Mac) or Ctrl+D (Windows).
How to change default transition in Premiere Pro:
Right-click any transition in the Effects panel (e.g., Cross Dissolve or Constant Power) and select Set Selected as Default Transition. That effect will now apply when you press Cmd+D or Cmd+Shift+D.
How to add crossfade in Premiere Pro:
In the Effects panel (Window > Effects), go to Audio Transitions > Crossfade and drag Constant Power between two audio clips. Or select the audio cut and press Cmd+Shift+D (Mac) or Ctrl+Shift+D (Windows) to add a default crossfade.
How to add text transitions in Premiere Pro:
Add your text layer to the timeline, then apply a transition like Cross Dissolve from the Effects panel to the start or end of the text clip. You can also animate text manually using keyframes.
How to add audio transitions in Premiere Pro:
Go to the Effects panel, open Audio Transitions > Crossfade, and drag Constant Power to the start or end of the audio clip. For a quicker method, select the edge of the audio and press Cmd+Shift+D (Mac) or Ctrl+Shift+D (Windows).
How to add transitions to multiple clips in Premiere Pro:
Select the clips where you want transitions, or manually select the edit points (cuts) between them. Then press Cmd+D (Mac) or Ctrl+D (Windows) to apply the default video transition to all selected areas.
Wrapping Up
Adding transitions might feel a bit awkward at first, but trust me, it becomes so much easier with a bit of practice. The more you try, the quicker it’ll start to feel natural, just like anything new!
Want to skip building transitions from scratch? Grab our pack. It includes , , and you can drop right into your timeline.
Denis Stefanides
About the author
Related Posts

Denis Stefanides
5 mins

Denis Stefanides
5 mins

Denis Stefanides
6 mins
