How to Add Adjustment Layer in Premiere Pro (3 Easy Steps)
|
3 mins
|
Jul 7, 2025

- 1. Create a New Adjustment Layer
- 2. Drag It Onto Your Timeline
- 3. Add Effects or Color Corrections
- Frequently Asked Questions
- Spotlight FX - Get free transitions, effects and workflow tools
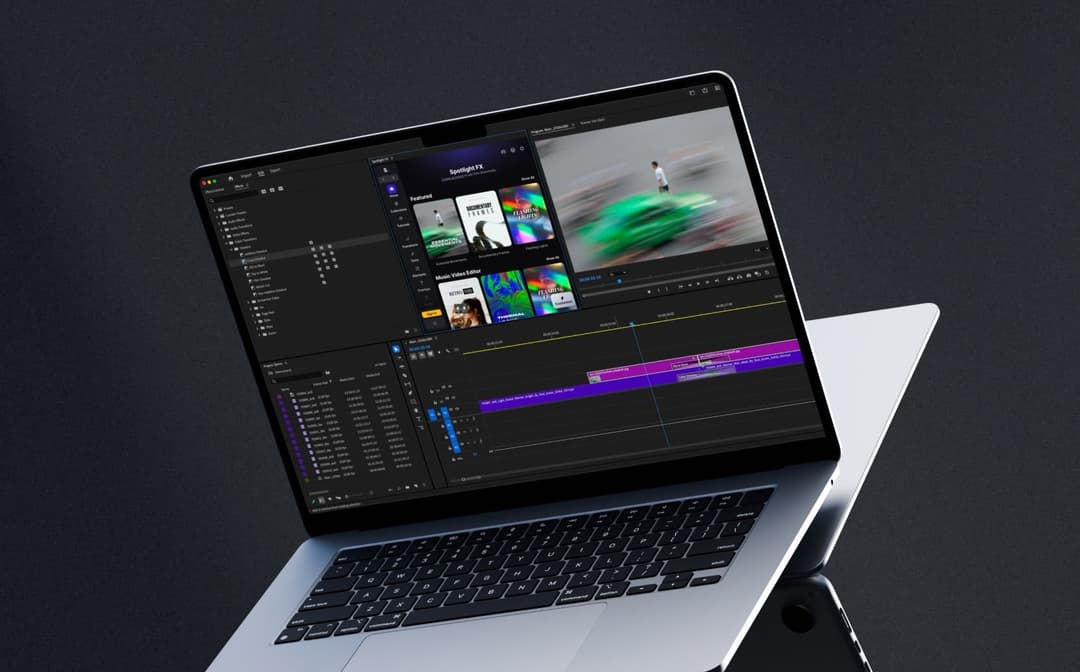
If you’ve ever wanted to apply the same effect or color correction across several clips without repeating yourself, adjustment layers are your best friend. They sit on top of your video tracks and apply whatever effect you throw on them, without touching the original clips.
Here’s how you can add one in just a few steps.
1. Create a New Adjustment Layer
First things first, you need to create the layer before you can use it.
- Go to the Project panel (that’s the one where all your media lives).
- Click the New Item icon at the bottom (it looks like a little page).
- Select Adjustment Layer from the list.
- A settings box will pop up, just hit OK unless you need custom dimensions.
Now you've got an adjustment layer ready to go.
2. Drag It Onto Your Timeline
Once it’s created, it’ll show up in your Project panel like any other clip.
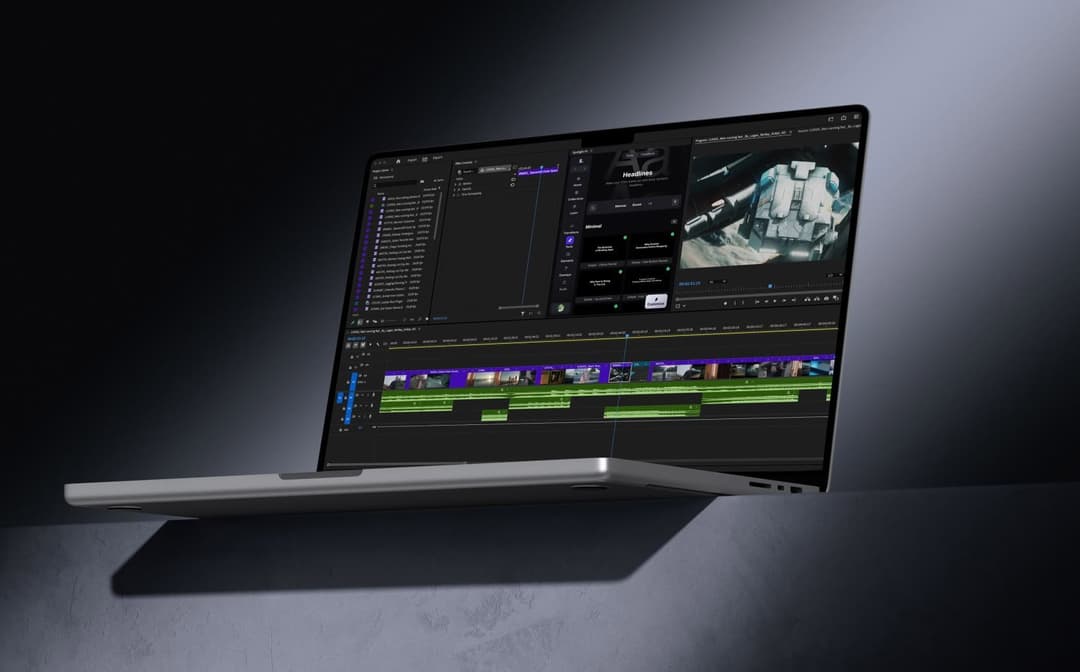
- Drag the adjustment layer onto a track above your video clips.
- Stretch or trim it so it covers all the clips you want affected.
Think of it like laying a transparent sheet over your footage. Anything underneath will be influenced by whatever changes you make on that layer.
3. Add Effects or Color Corrections
Now comes the fun part, adding effects!
- Select the adjustment layer on your timeline.
- Go to the Effects panel, find what you want (like Lumetri Color or Gaussian Blur), and drag it onto the layer.
- Tweak settings in the Effect Controls panel just like you would with any clip.
And that’s it. Every clip under that adjustment layer now shares those changes, which makes batch editing way easier.
Wrap Up
Adjustment layers are super handy when you're working with multiple clips that need consistent effects or color grading. Instead of applying changes one by one, just drop them onto a single layer and call it a day. Once you've used them a couple of times, they’ll become part of your regular workflow without even thinking about it.
Frequently Asked Questions
How do I add an adjustment layer in Premiere?
- In the Project panel, click the New Item icon.
- Choose Adjustment Layer and click OK.
- Drag it onto your timeline above your video clips.
- Add effects or color corrections as needed.
How do I add an adjustment layer in Adobe Pro?
Adobe Premiere Pro and Adobe Pro refer to the same thing here. Just go to New Item in your Project panel, select Adjustment Layer, then drag it onto your timeline above any clips you want affected.
What is the shortcut for the adjustment layer in Premiere Pro?
There’s no direct keyboard shortcut for creating an adjustment layer by default. You have to use:
Windows & Mac: Right-click inside Project panel → New Item → Adjustment Layer
You can assign a custom shortcut under Edit > Keyboard Shortcuts if needed.
How to add an overlay layer in Premiere Pro?
To add an overlay:
- Import your overlay file (like light leaks or textures).
- Drag it above your main footage on the timeline.
- Change its blend mode under Effect Controls (e.g., Screen or Overlay).
- Adjust opacity if needed for better blending.
Overlay layers work similarly to adjustment layers but usually involve visual elements rather than effects only.
.jpg&w=256&q=75)
Tom Balev
About the author
Related Posts

Denis Stefanides
7 mins

Denis Stefanides
5 mins

Denis Stefanides
9 mins
