Walk Cycle Animation: Beginner's Guide to Creating Realistic Movement
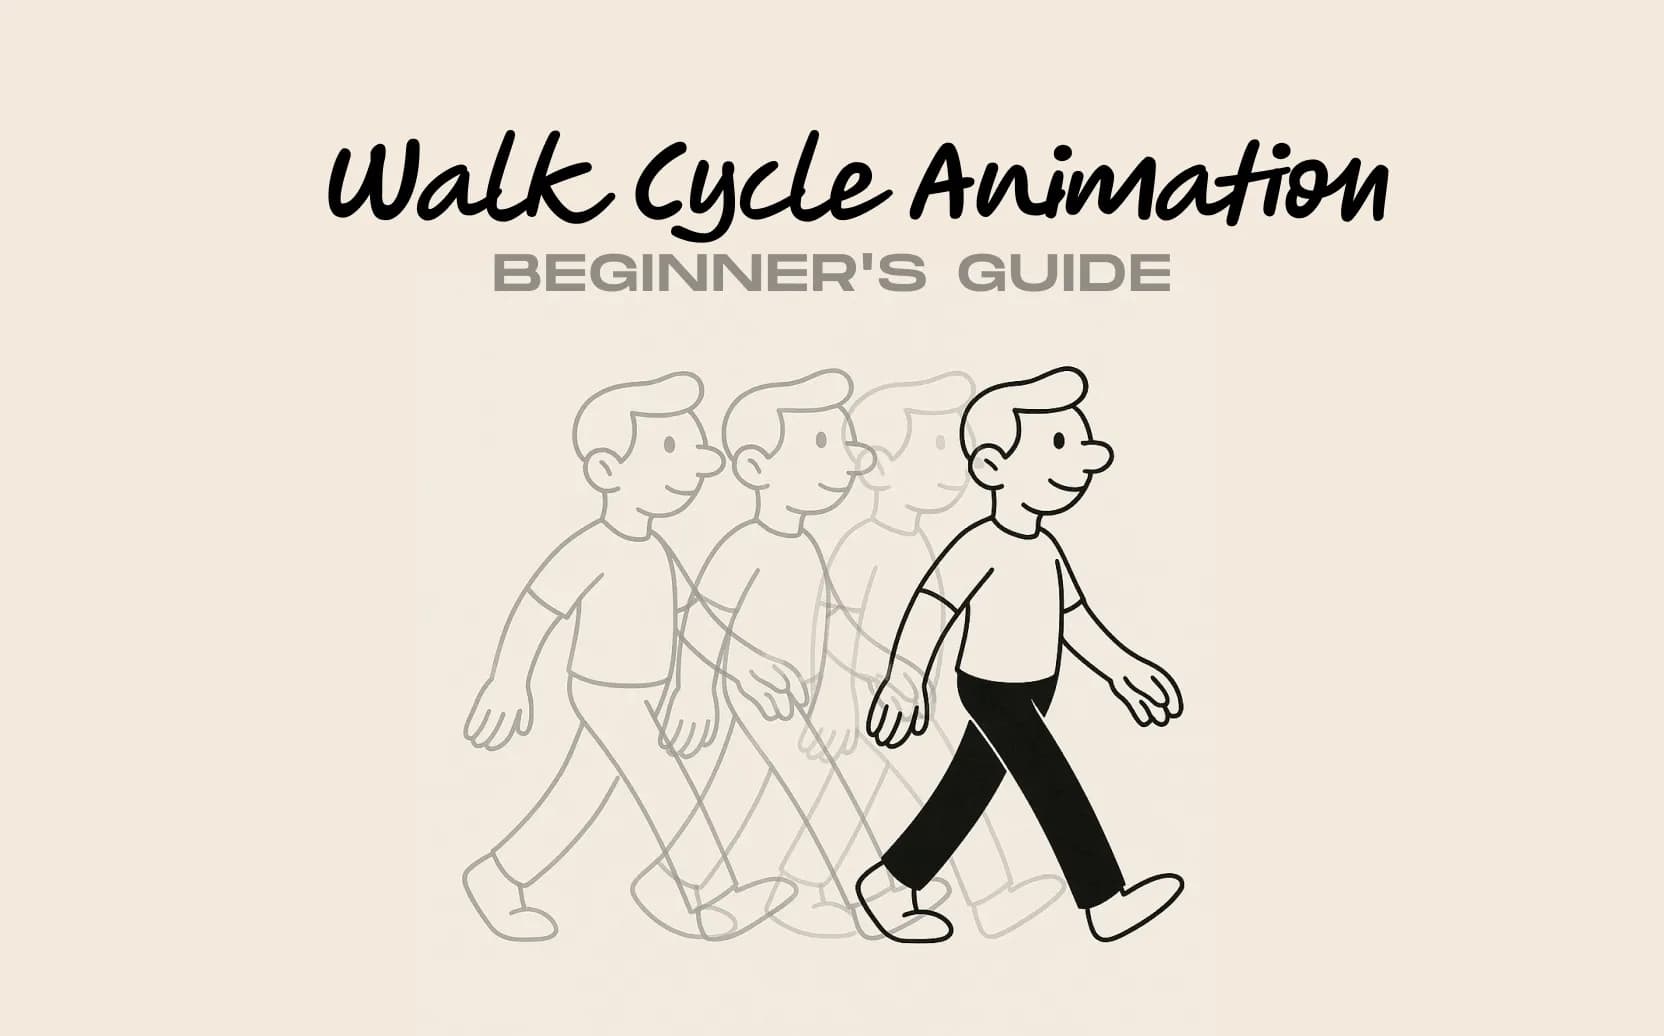
Table of Contents
- What Is a Walk Cycle?
- The 4 Stages of the Walk Cycle
- How to Create a Walk Cycle: Step-by-Step Guide
- Animating Different Creatures
- Common Walk Cycle Mistakes and How to Fix Them
- Resources for Your Animation Journey
- FAQ: Walking Through Your Questions
- Conclusion: Taking Your Next Steps in Animation
- Spotlight FX - Get free transitions, effects and workflow tools
If you're new to animation, you've probably heard people talk about walk cycles. It might seem like just a basic exercise, but creating a believable walk cycle is actually one of the most important skills you can learn as an animator.
Think about it: the way someone walks tells us a lot about who they are. A confident walk, a nervous walk, a happy bouncy walk. Walking is something we all do every day, yet each person does it in their own way. Learning to create walk cycles helps you bring your characters to life and tell stories before they even say a word.
What Is a Walk Cycle?
A walk cycle is an animation technique that creates the illusion of a character walking continuously using a series of drawings or poses that repeat. Once created, this sequence can be played over and over to show a character walking for any length of time without having to animate each individual step.
Most walk cycles cover two full steps (right foot forward, left foot forward) that smoothly loop back to the beginning. This saves a lot of time and work, especially for scenes where characters walk for a long time.
But a walk cycle is much more than just a time-saver. It's a powerful storytelling tool that shows important things about your character:
- Personality: A bouncy walk shows happiness or confidence, while a heavy walk might show sadness or tiredness
- Physical traits: Age, weight, strength, and health all affect how someone moves
- Feelings: Current emotions often show in how someone walks
- Intentions: Purpose, hesitation, or sneaking can all be shown through walking style
Learning walk cycles helps you understand key animation basics like timing, spacing, weight, balance, and movement. These skills help with almost every other type of character animation you'll create.
The 4 Stages of the Walk Cycle
A basic two-legged walk cycle has four main poses that define the movement. These poses are the foundation for more detailed animation.
The four main poses of a walk cycle are:
- Contact: The front foot touches the ground (usually heel-first) while the back foot is still on the ground behind. The legs are at their widest apart, and the arms are usually opposite to the legs (if right leg is forward, left arm is forward).
- Down (Recoil): The body's weight moves to the front foot, making the hips reach their lowest point in the cycle. The knee of the weight-bearing leg bends to absorb the impact, creating a sense of weight. The back foot begins to lift off the ground.
- Passing: The free leg swings forward and passes the weight-bearing leg, which is now directly under the body. The hips begin to rise, and the arms cross near the body as they swing in opposite directions to the legs.
- Up (High Point): The supporting leg pushes off (often with the heel raising), pushing the body to its highest point in the cycle. The other leg continues swinging forward, getting ready for the next contact pose. The arms continue their back-and-forth motion.
After completing these four poses with one leg leading, the cycle repeats with the opposite leg taking the lead, creating a full two-step walk cycle that can loop continuously.
These poses create the up-and-down motion that gives a walk its natural rhythm and weight. Without this vertical movement, characters look like they're floating or sliding unnaturally.
How to Create a Walk Cycle: Step-by-Step Guide
Whether you're working with traditional 2D animation, digital 2D, or 3D software, the basic process of creating a walk cycle follows similar principles. Let's break it down into simple steps:
1. Gather Reference
Before you draw a single frame, take time to watch and collect examples:
- Record yourself walking: Use your phone to take video of yourself walking from different angles (side view is especially useful for beginners)
- Watch others: Look at how people walk in public places, noting how weight shifts and how different body types move
- Look at existing walk cycles: Study classic animation examples and tutorials
Richard Williams' "The Animator's Survival Kit" has excellent walk cycle examples and is considered must-read material for animators. The Animation Mentor blog also offers helpful information about character movement.
2. Plan Your Timing
For beginners, a standard walk cycle often uses 24 frames for a complete two-step cycle (12 frames per step), but this can change based on your character and how fast you want them to walk:
- Faster walks: 16-20 frames for a complete cycle
- Average walks: 24 frames (12 per step)
- Slower, heavier walks: 28-40+ frames
For your first try, a 24-frame cycle provides a good balance of detail without being too complex.
3. Draw the Main Poses
Start by creating the four main poses for the first step, placing them at roughly equal spaces:
- Frame 1: Contact pose (right foot forward)
- Frame 4: Down pose
- Frame 7: Passing pose
- Frame 10: Up pose
Then continue with the second half of the cycle:
- Frame 13: Contact pose (left foot forward)
- Frame 16: Down pose
- Frame 19: Passing pose
- Frame 22: Up pose
Remember that Frame 25 would repeat Frame 1 to create the loop.
4. Add In-Between Poses
Once your main poses are set, add poses between them to smooth the motion:
- Between Contact and Down
- Between Down and Passing
- Between Passing and Up
These extra poses define the paths of movement and help transitions flow naturally.
5. Fill in the Remaining Frames or Adjust Timing
In traditional animation, you'd now draw the remaining in-between frames. In digital animation (2D or 3D), you might adjust the timing to control how the movement flows between poses.
6. Add Secondary Movement
Now add extra motion to make your walk more natural:
- Head movement (slight bobbing up and down, slightly behind the body)
- Arm swing (opposite to the legs, with natural follow-through)
- Torso turning (opposite to the hips)
- Clothing, hair, or accessories (reacting to the movement with slight delay)
7. Test and Improve
Check your animation by playing it back as a loop:
- Does it flow smoothly?
- Do the feet look firmly planted when touching the ground?
- Does the character look like they have weight?
- Is there appropriate movement in the arms, head, etc.?
Make changes as needed until your walk cycle looks natural and full of life.
Animating Different Creatures
Human Walk Cycles
Human walks are the foundation of most character animation. Beyond the basic walk, you can create different types to show various emotions:
- Happy/Excited: More bounce (more pronounced up position), maybe skip-like, possibly faster timing
- Sad/Down: Less bounce, slower timing, slouched posture, less arm swing
- Angry: More force when feet hit the ground (like stomping), more forward lean, tighter arm swing
- Sneaky: Lower overall height, slower timing, careful foot placement
Dog Walk Cycle
Dogs have a different structure and rhythm to their walk:
- Dogs typically walk in a diagonal pattern (right front leg moves with left back leg, then left front with right back)
- The body moves slightly from side to side
- The head usually stays relatively level while the shoulders and hips go up and down
- The tail can show personality (happy dogs have higher, wagging tails)
The Aaron Blaise website has great reference videos and tutorials specifically for animal animation.
Cat Walk Cycle
Cats have a more flowing, smooth walk than dogs:
- Their spine is very flexible, creating a flowing wave-like motion
- They place their feet more precisely, often in a nearly straight line
- Their shoulder blades move a lot, creating distinctive movement in the front legs
- Their heads stay steady during normal walking
Horse Walk Cycle
Horses have a more complex leg structure and walking pattern:
- They typically walk in a four-beat pattern (each foot touches down separately)
- The order is usually right back, right front, left back, left front
- Their long legs create distinctive arcs during the swing phase
- The head and neck move in a slight up-and-down pattern
The Wildlife Reference Photos website provides great reference material for various animals in motion, including horses.
Common Walk Cycle Mistakes and How to Fix Them
Even experienced animators can have trouble with certain parts of walk cycles. Here are common problems and their solutions:
1. Floating or Lack of Weight
Problem: Character looks like they're gliding or hovering instead of walking on solid ground.
Solution: Make the up and down movement of the hips/body more obvious. Make sure the supporting knee bends to take weight in the down position. Make these elements more extreme if needed to make the weight look convincing.
2. Sliding Feet
Problem: Feet look like they're sliding or skating along the ground when they should be planted.
Solution: Make sure that when a foot is touching the ground, it stays fixed in place until it begins to lift. In 3D animation, use position holds during contact phases.
3. Stiff Movement
Problem: Character moves like a robot, with all parts moving at the same time.
Solution: Add movement that follows through. The arms shouldn't move in perfect time with the legs, and things like hair should lag slightly. Add slight bends in elbows and knees to avoid stiffness.
4. Poor Timing
Problem: Walk looks jerky, uneven, or lacks rhythm.
Solution: Use consistent timing between similar poses (e.g., between consecutive contact poses). Adjust the spacing between frames to create smooth movement. Consider using a beat or metronome to keep rhythm.
5. Forgetting the Upper Body
Problem: Focus only on the legs while the upper body stays still.
Solution: Animate the entire body as a connected system. The torso should turn against the hips, the head should have subtle movement, and the arms should swing naturally opposite to the legs.
Resources for Your Animation Journey
To learn more about walk cycles and animation in general, check out these helpful resources:
Books
- "The Animator's Survival Kit" by Richard Williams: The go-to guide for animation basics, with lots of information about walks
- "Cartoon Animation" by Preston Blair: Great for stylized and exaggerated walk cycles
- "The Illusion of Life" by Frank Thomas and Ollie Johnston: Covers the fundamental principles of animation developed at Disney
Online Resources
- Animation tutorials on YouTube: Channels like Toniko Pantoja, Animation Mentor, and Aaron Blaise offer walk cycle tutorials
- Animation software guides: Most animation programs have specific tutorials for character animation
- Animation community forums: Sites like 11 Second Club and Animation Mentor for feedback
Reference Libraries
- Eadweard Muybridge's motion studies: Historic photo sequences that break down human and animal movement
- Your own video reference: Build a personal library of movement reference that you can study frame-by-frame
FAQ: Walking Through Your Questions
What are the 4 stages of the walk cycle?
The 4 stages of the walk cycle are:
- Contact: When the forward foot touches the ground while the back foot is still down
- Down: When weight shifts to the forward foot and the body is at its lowest point
- Passing: When the free leg passes the supporting leg under the body
- Up: When the supporting leg pushes off, raising the body to its highest point
These stages happen twice in a complete cycle (once for each leg) to create a natural walking motion.
What is a normal walk cycle?
A normal walk cycle is a repeating animation sequence that shows a character taking two complete steps (right foot forward, then left foot forward). It includes the four main poses (contact, down, passing, up) for each leg, creating a natural walking motion that can be repeated. A normal human walk is not exaggerated or stylized, moving at an average speed with regular step length and natural arm swing.
How long should a walk cycle be?
For standard animation at 24 frames per second, a typical walk cycle is 24 frames long (covering two steps), which equals one second of animation. However, this can change based on the character and desired speed:
- Faster walks: 16-20 frames total
- Normal walks: 24 frames (12 frames per step)
- Slower walks: 28-40+ frames
The right length depends on the character's personality, emotional state, and the story context.
What is the walk cycle theory?
Walk cycle theory describes the basic principles that help animated characters walk convincingly. It includes:
- The four main poses (contact, down, passing, up)
- How weight and balance work
- How limbs work together, particularly the opposite motion of arms and legs
- The up-and-down movement that creates a sense of weight
- The principles of timing, spacing, and follow-through as applied to walking
These principles provide a framework for creating walks that look natural while allowing for creative interpretation and character expression.
How to animate a walk cycle?
To animate a walk cycle:
- Study examples of real walking motions
- Decide on your timing (typically 24 frames for a complete cycle)
- Create the four main poses for each step (contact, down, passing, up)
- Add in-between poses between the main poses
- Fill in remaining frames or adjust animation timing
- Add secondary animation (head movement, arm swing, etc.)
- Make sure the cycle loops smoothly
- Test and improve until the walk looks natural and full of life
The specific approach varies depending on whether you're using traditional hand-drawn animation, 2D digital software, or 3D animation tools.
Conclusion: Taking Your Next Steps in Animation
The walk cycle is more than just an exercise; it's a basic building block that can show character, move the story forward, and demonstrate your understanding of animation principles. As Richard Williams noted, "Walks are full of personality. Walks tell the story of the person."
Don't worry if your first tries don't look how you want. Animation is a skill that gets better with practice and watching. Each walk cycle you create will teach you something new about movement, timing, and expression.
Remember that even the most basic walk cycle uses nearly all the core principles of animation: timing, spacing, anticipation, follow-through, overlapping action, arcs, squash and stretch, and solid drawing. By mastering the walk, you're building a foundation for all your future animation work.
So take that first step. Watch, practice, get feedback, and keep moving forward in your animation journey. Before long, you'll find your characters walking confidently across the screen, each step telling their unique story.
Related Posts

 Video Editing
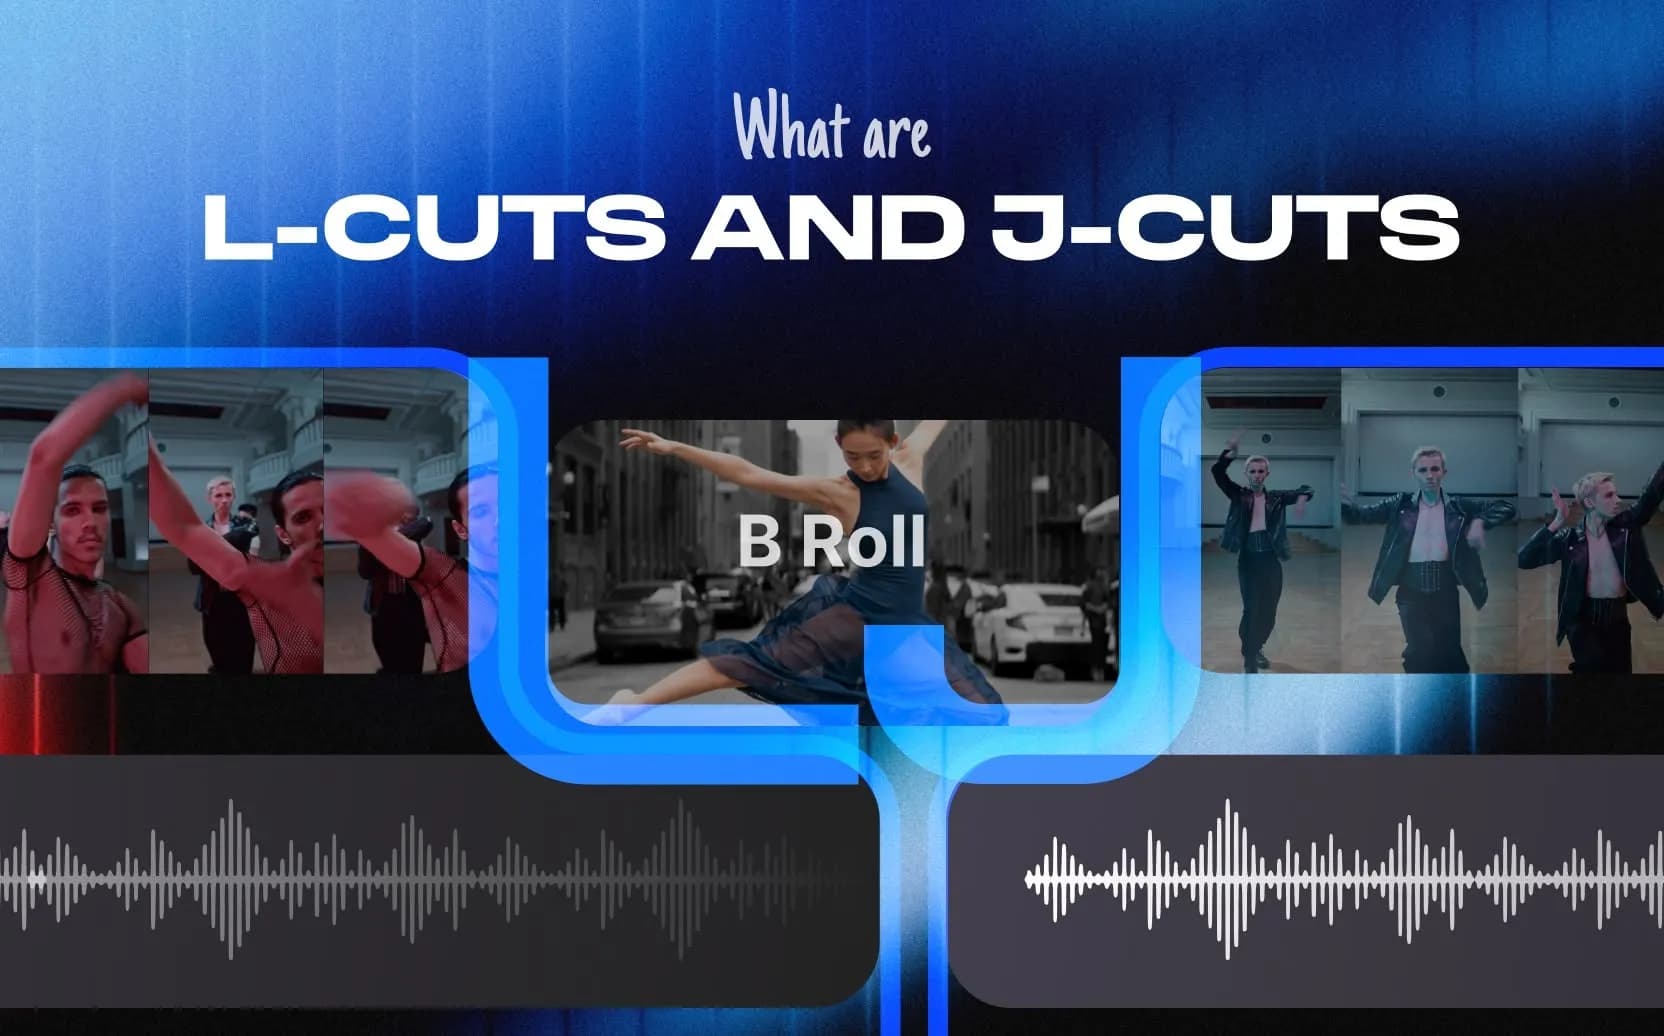
What are J-Cuts and L-Cuts? Professional Dialogue Editing Explained
 Video Editing