- 1. Create Your Text Layer
- 2. Apply the Transform Effect for More Control
- 3. Add Keyframes for Basic Animation
- 4. Use Presets for Quick Animations
- 5. Fine-Tune with Ease In/Out
- Frequently Asked Questions
- Spotlight FX - Get free transitions, effects and workflow tools
Trying to make your text pop a little more in Premiere Pro? Whether you're working on a YouTube video, a short film, or just adding some flair to a caption, animating your text can make a big difference. The good news is, you don’t need any fancy plugins or advanced skills. Just a few keyframes and some built-in effects can go a long way.
Here’s how to animate text in Premiere Pro without making it complicated.
1. Create Your Text Layer
Let’s start by adding some text to your timeline.
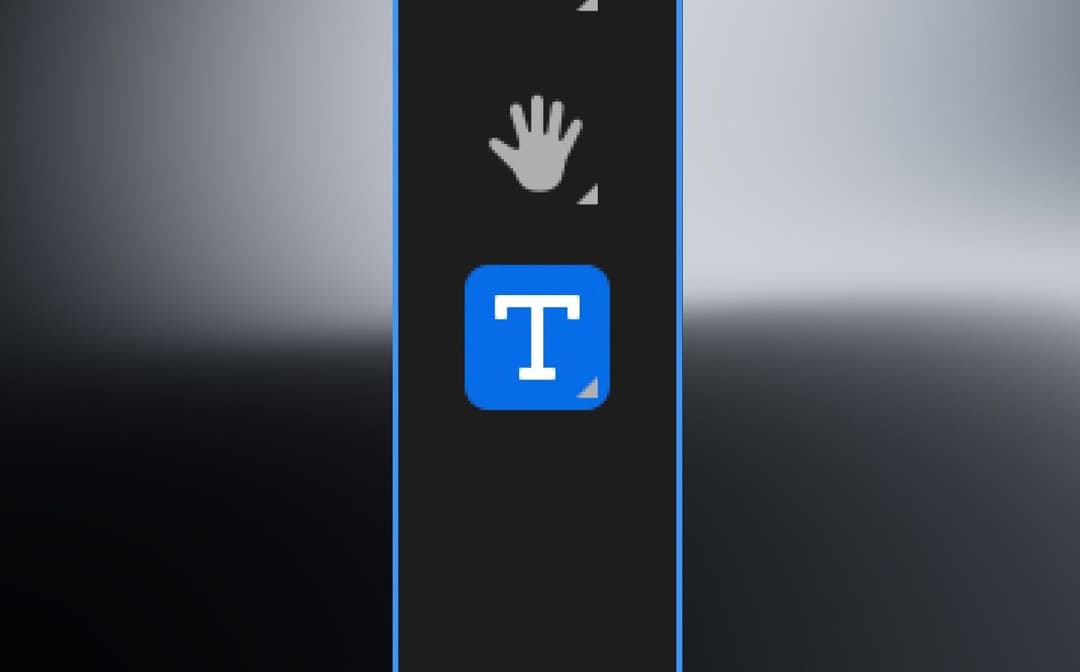
- In the bottom left panel, click the T icon (that’s the Type Tool).
- Click anywhere in the Program Monitor and type your text.
- Now go to the Properties tab (usually in the top right).
- Select your text layer from the list.
- From here, you can customize things like font, size, color, alignment, and spacing.
This gives you a solid base to start animating. Once it looks how you want, you're ready to move on.
2. Apply the Transform Effect for More Control
Instead of using the default Motion controls, we recommend using the Transform effect. It gives you more flexibility, especially if you want to add motion blur later.
- Go to the Effects panel and search for Transform.
- Drag it onto your text layer.
- Now open the Effect Controls panel (Window > Effect Controls if it’s not already open).
- Scroll down to find the Transform effect settings.
This version of Transform includes a Shutter Angle option, which is super helpful if you want to add motion blur during your animation. Just uncheck “Use Composition’s Shutter Angle” and set your own value (180 is a good starting point).
3. Add Keyframes for Basic Animation
Keyframes are what tell Premiere when and how something should change over time.
Here’s an example of making text slide in from the left:
- Move your playhead to where you want the animation to start.
- In Effect Controls, click the stopwatch next to Position.
- Move the playhead forward a second or two.
- Change the Position values so the text moves into place.
Premiere will automatically create another keyframe at that new position. When you play it back, your text will slide in smoothly.
You can do this with Scale (for zoom effects), Opacity (for fade-ins), or Rotation too.
4. Use Presets for Quick Animations
If you're short on time or just want something quick:
- Go to the Effects panel.
- Open Presets folder.
- Drag one of those presets onto your text layer.
These presets include things like fly-ins and fades, all pre-built so you don’t have to mess with keyframes manually.
5. Fine-Tune with Ease In/Out
Want smoother motion? Try easing your keyframes:
- Right-click any keyframe in Effect Controls.
- Choose Ease In, Ease Out, or Bezier depending on what feels best.
- This makes movements less robotic and more natural-looking.
It’s a small step that makes a big difference visually.
Frequently Asked Questions
How do you animate typing in Premiere?
Premiere Pro doesn’t include a native “Typewriter” preset, and creating a typing effect manually can be time-consuming. The easiest way is to use the Spotlight FX plugin, which includes ready-made typing text animations you can customize in seconds. Just drag the template onto your timeline, type your text, and you’re done. No keyframes or workarounds needed.
How to add effect in text in Premiere Pro?
You can add effects by:
- Selecting your text layer.
- Going to Effects panel and searching for an effect (like “Drop Shadow” or “Gaussian Blur”).
- Dragging it onto your text clip.
- Tweaking settings in Effect Controls for customization.
How do you add animation to text?
Use keyframes:
- Select your text layer and open Effect Controls.
- Click stopwatches next to properties like Position or Opacity.
- Move playhead and adjust values at different points.
- Playback shows animated changes between those points.
How to animate captions in Premiere Pro?
To animate captions, select them in the subtitle track, then go to Graphics and Titles > Upgrade Caption to Graphic. This moves them to a regular video track so you can animate them like any other clip.
- Use keyframes in Effect Controls (Position, Scale, Opacity, etc.)
- Apply presets or transitions as needed
- (Optional) Use Spotlight FX plugin for ready-made animated captions
If you need help adding captions before animating them, see this guide on how to add captions in Premiere Pro.
.jpg&w=256&q=75)
Tom Balev
About the author
Related Posts

Tom Balev
2 mins

Tom Balev
3 mins

Denis Stefanides
5 mins
